I wanted to delve a little into the process I was using for reconstructing the scene from the game.
When doing a project like this, the most important things you want to know are:
-The positions of the original cameras that rendered the scene
-The positions of the surfaces in a scene.
Ideally Automation Would Be Used
When I first played with some photogrammetry software, and realized I could attempt to apply it to something like this, I was hoping to have an automated process that could give me the two things I really needed.
While the quality (rather the lack of it) of any automated reconstruction would prevent it from ever being used as an asset in a proper remake of a game like Exile, the value it holds as a guide in creating those proper assets is immense. It would save enormous amounts of time and effort, and help ensure the recreation is as close to the original as possible.
Unfortunately I haven’t been able to find a freely available process to perform such a reconstruction, or even properly calculate the camera positions using panoramic images (I’ll be posting more about that in the future).
What is freely available is geared more toward structure-from-motion (SFM) or massive collections of overlapping images from many vantage points. Even then it is rather tricky to get good quality.

When All Else False, Do It The Hard Way
So without an automated way to get the camera positions, I decided to do it manually.
Camera Matching Panoramas

Step 1: Setup
- For each node, apply the images to an inward facing cube, and stick a camera in the middle of the cube.

- Set a viewport to look through that camera. Blender allows you to pan the camera that makes it feel rather similar to the original game.
- I configure Blender so I can look at 4 different nodes at one time.

- The objects/meshes in the actual 3d scene can be xrayed/overlayed as wireframes. I can then use the original game’s images as full 360 backgrounds to work against.
- I can move these node/camera setups freely around the actual 3d scene and adjust them as needed

Step 2: Camera Pose Recovery
This is the painstaking bit. Since Presto rendered all the nodes in Exile in the same orientation, it really comes down to working out the xyz location of each node. Even so, it’s a huge pain just to get that one aspect just right.
The goal is to put a shape in the scene representing a given object that appears in different cubemaps, and adjusting the position of those cubes/cameras so that the shape looks correct for each cubemap
There are a number of assumptions you can reasonably make in a scene like this. The floor is flat and in the same plane for the majority of the scene. Each node doesn’t seem to have any change in elevation. So I assume each node is on the same plane. I assume this plane is about 1.5 meters from the ground ( average eye level) so I set each node/camera at that height.
Then I designate a particular node as special, I keep it at the origin, and I will arrange the rest of the nodes relative to it to avoid things getting to crazy and out of hand (In this case I chose the one in the middle of the sunroom for convenience). So let’s call this Node A. So Node A has a position of (0, 0, 1.5).
I then outlined the pattern on the floor (which is at a height of 0 – where it should actually sit in the scene). I can look through Node B and see the same outline and the same floor pattern in the cubemap image (but from a differing vantage point). Then I slide the node around without altering it’s height (so laterally – in the x/y direction) until that pattern is properly aligned with it’s appearance in the background image.
This process works rather well in this case because I was able to make those assumptions about the floor. Otherwise, when you have changes in elevations between nodes, you end up with a bit of a feedback loop where you need use several different points of reference (say patterns/shapes on the ceilings, walls and floors) and adjust them until both you can get multiple points of reference to appear in the correct spots for each cubemap.
Step 3: The Fun Begins!
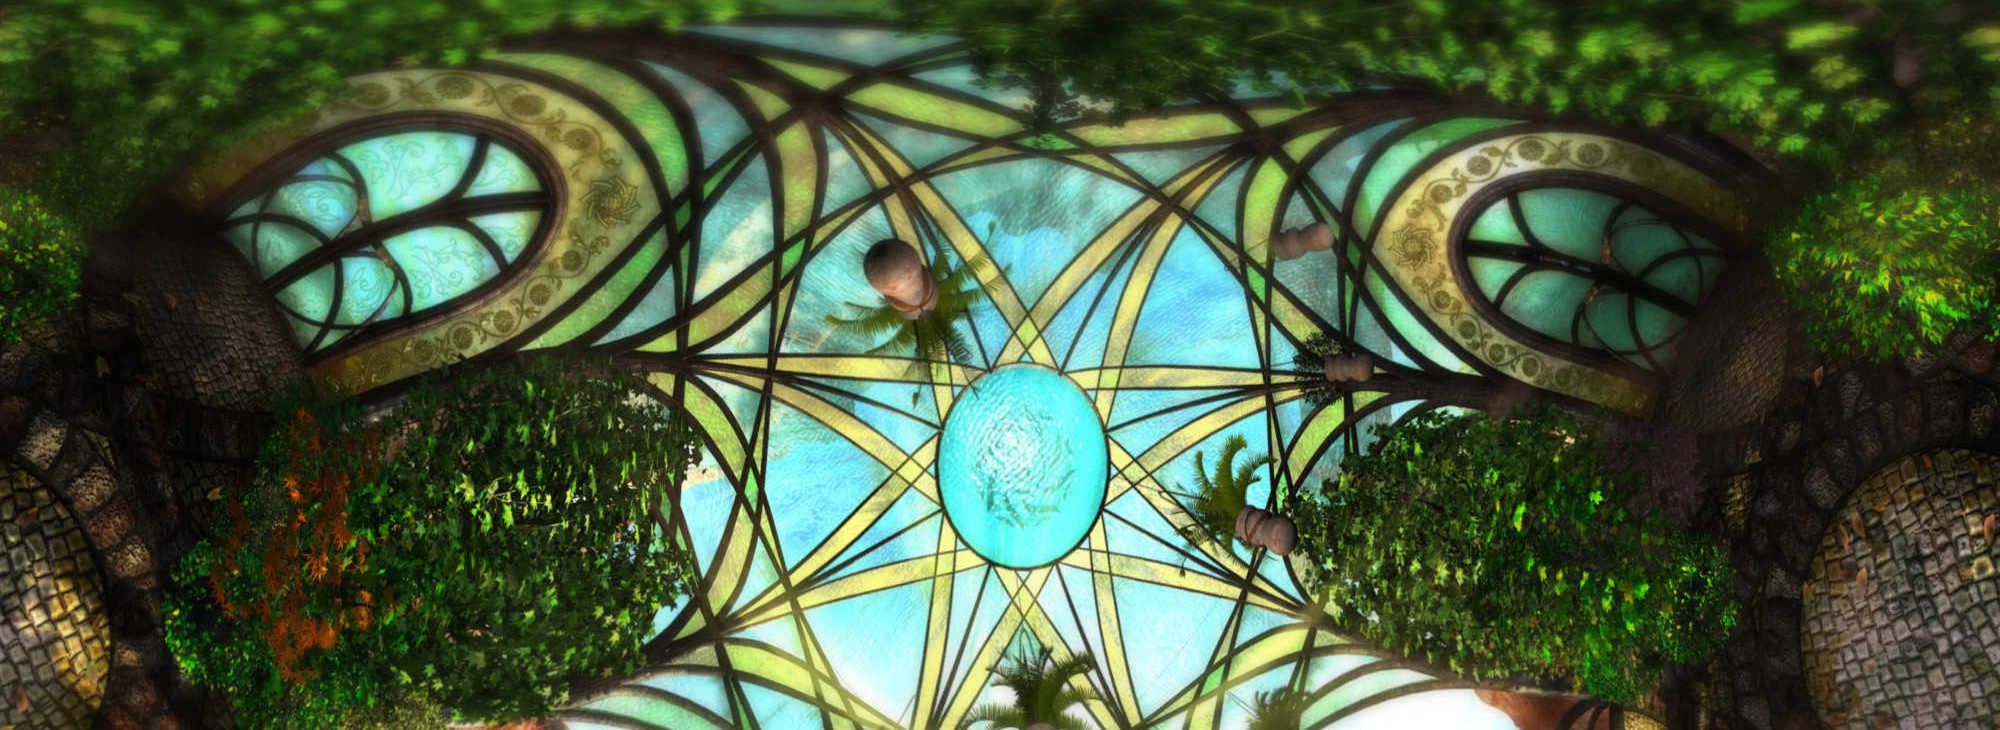
At this point, once you lock down the camera positions, it becomes easier to work out/ reason about the location of any given object in the scene. This can be rather painstaking itself, but I find it more fun. It was an interesting challenge creating the mesh for the sunroom’s dome, I used splines to extrude a shape and could twist and taper it along it’s height, and used that to create the branch like supports, the whole time seeing them overlayed on top of the original game images from multiple views, so I could verify I had the shape right as I was editing it.

Imperfect Process
Ultimately it’s a clunky and painful process. I decided to go for it since I only needed to work with 4 nodes. Once you have a significant number (say 20 or more) it becomes a very very difficult process to do this manually.
It feels like trying to solve a jigsaw puzzle where all the interlocking stubs on the pieces are just a few millimeters off, so you know you’ve got the right pieces, in the right general area, but you can’t get the whole picture to fit together.
It was reasonably suited for a scene like Tomahna, but I really want something better if I try tackling anything else in the game. (I’ll be posting more about potential solutions)